
Memory Painting
I recently recorded a short demo for @isolationartschool on memory painting. Memory work regularly informs my practice but developing ones visual memory is an important skill for any aspiring naturalistic painter and I’d encourage all students to make regular memory studies.
I recently recorded a short demo for @isolationartschool on memory painting. Memory work regularly informs my practice but developing ones visual memory is an important skill for any aspiring naturalistic painter and I’d encourage all students to make regular memory studies. Perhaps starting with evening memory drawings of the model that was studied at length during the day before progressing on to paint and to landscape.
Developing your visual memory is important since even when painting directly from observation you’re still using your memory – models move and the colour and intensity of light changes. This is particularly the case in landscape painting where shadows move and light effects can be fleeting. Memory work helps you focus on the information that made an impression on you rather than niggling with detail.
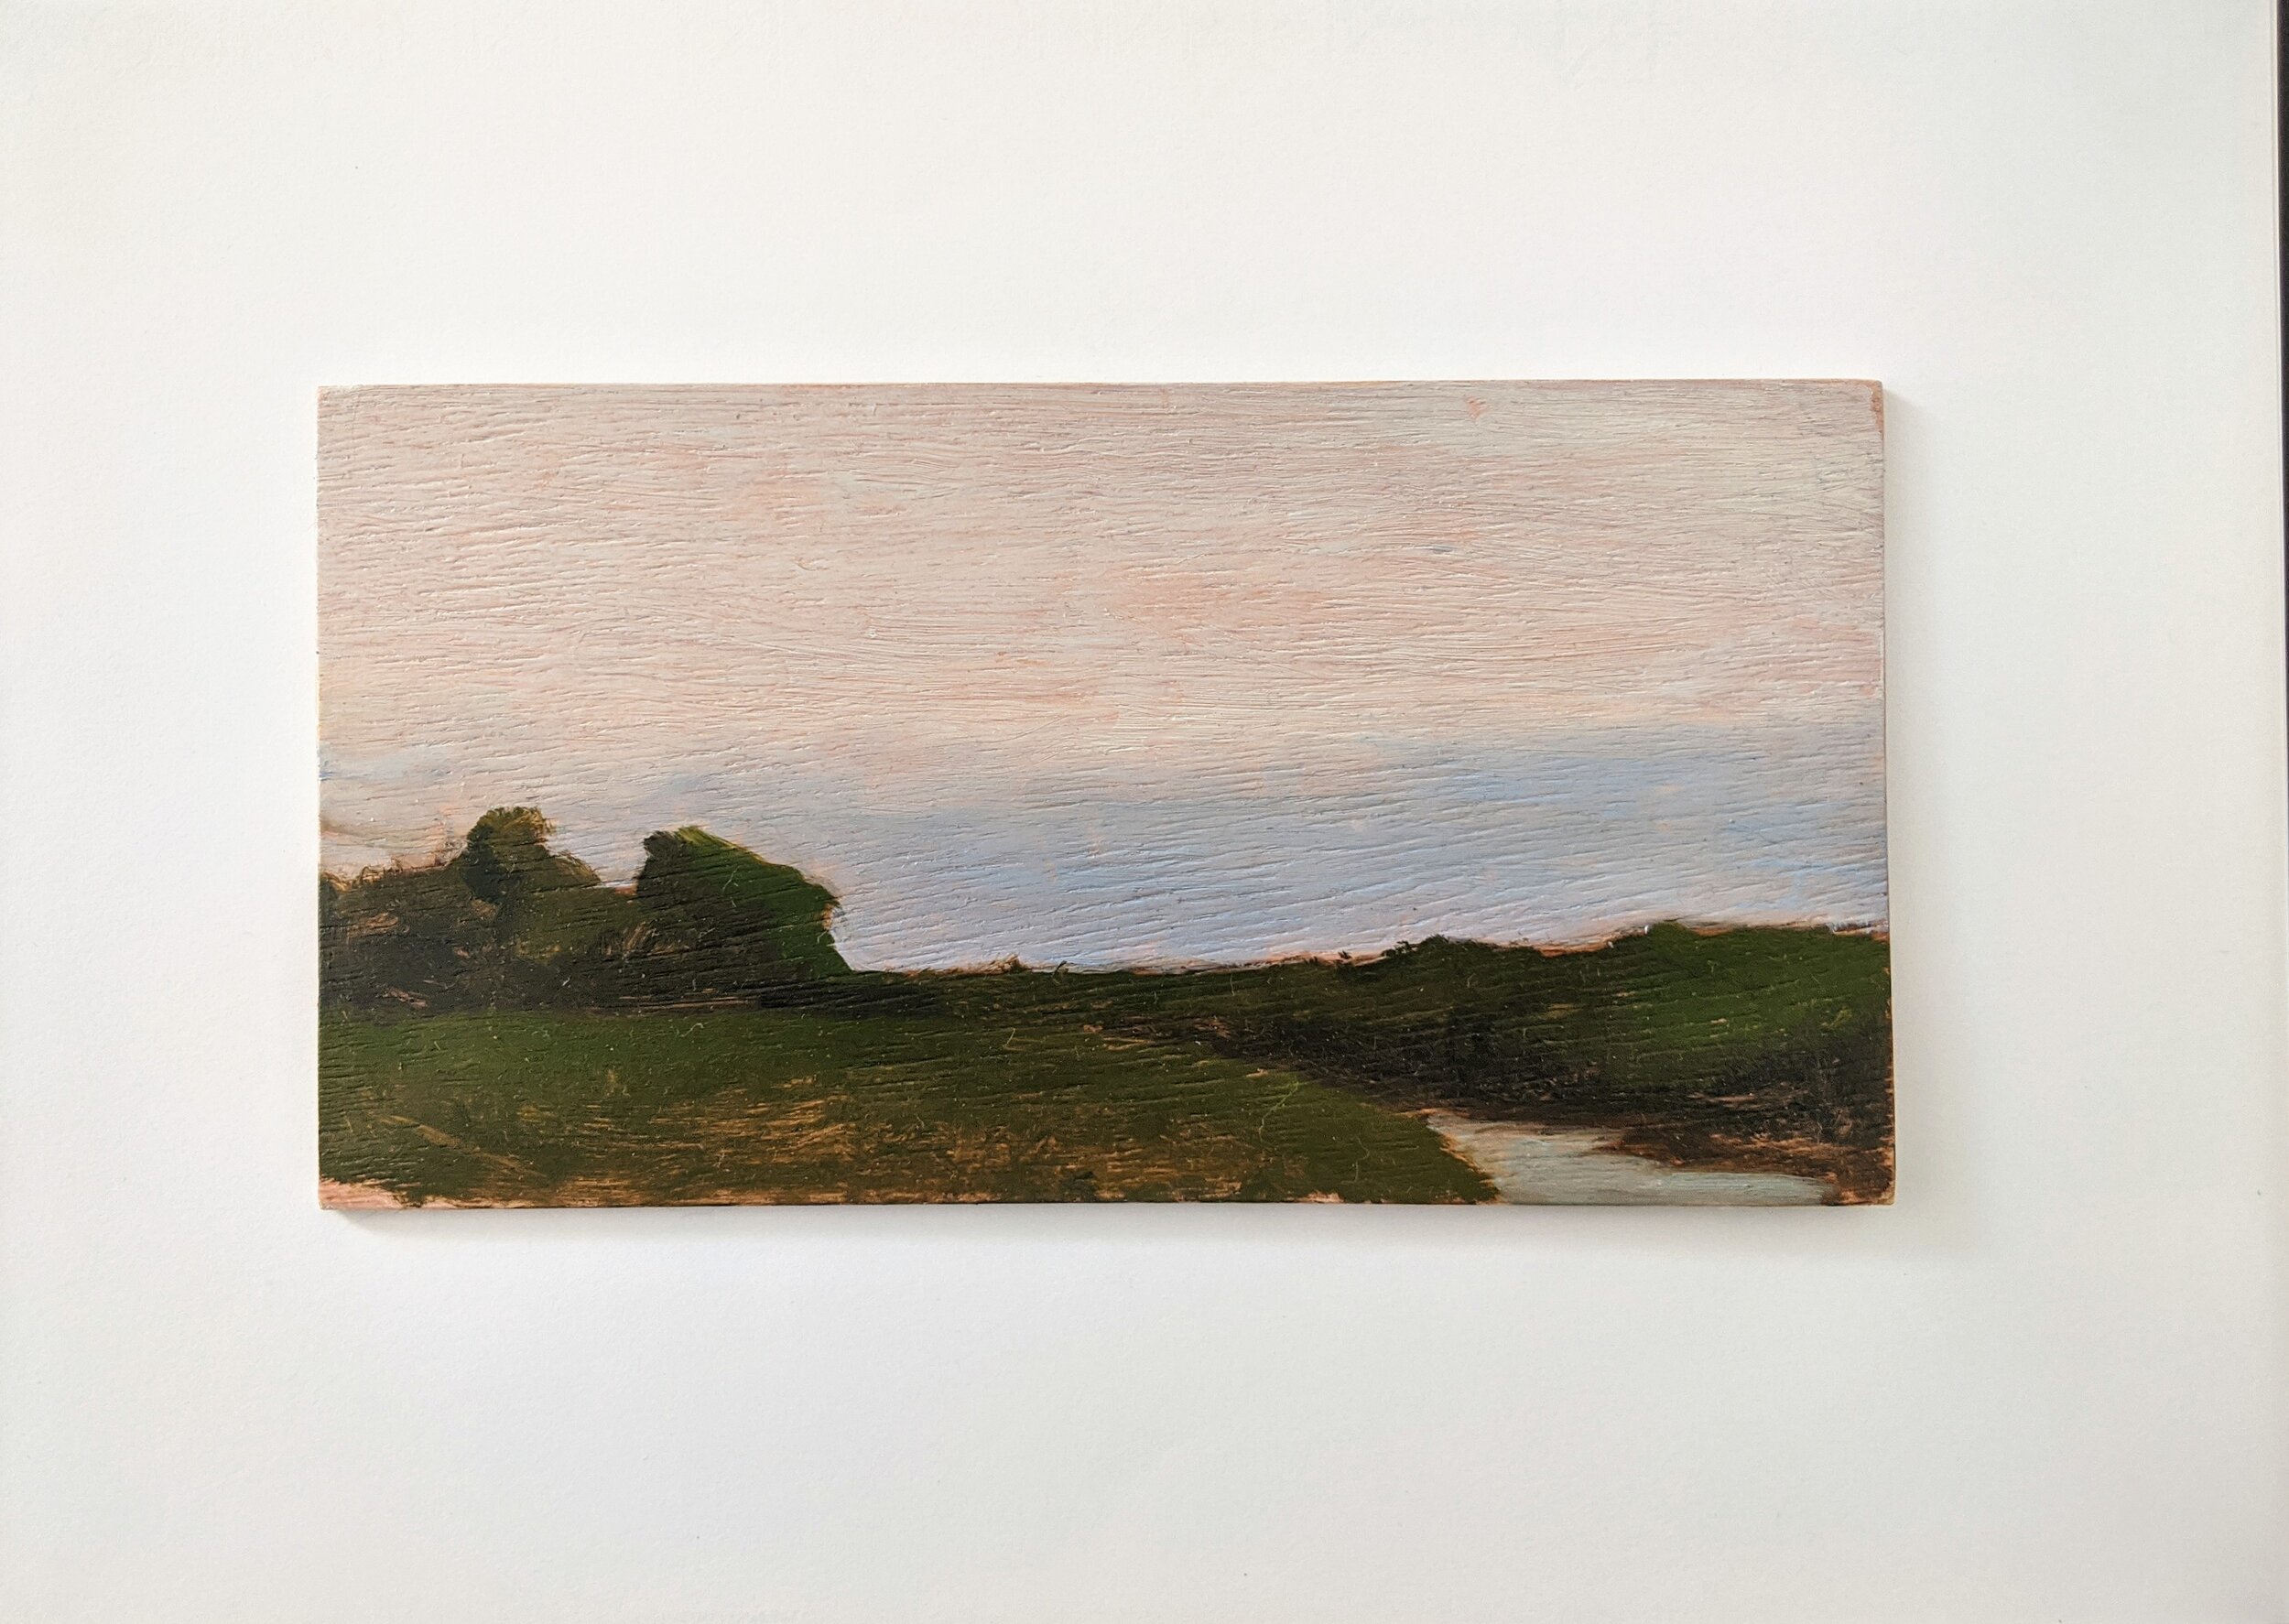
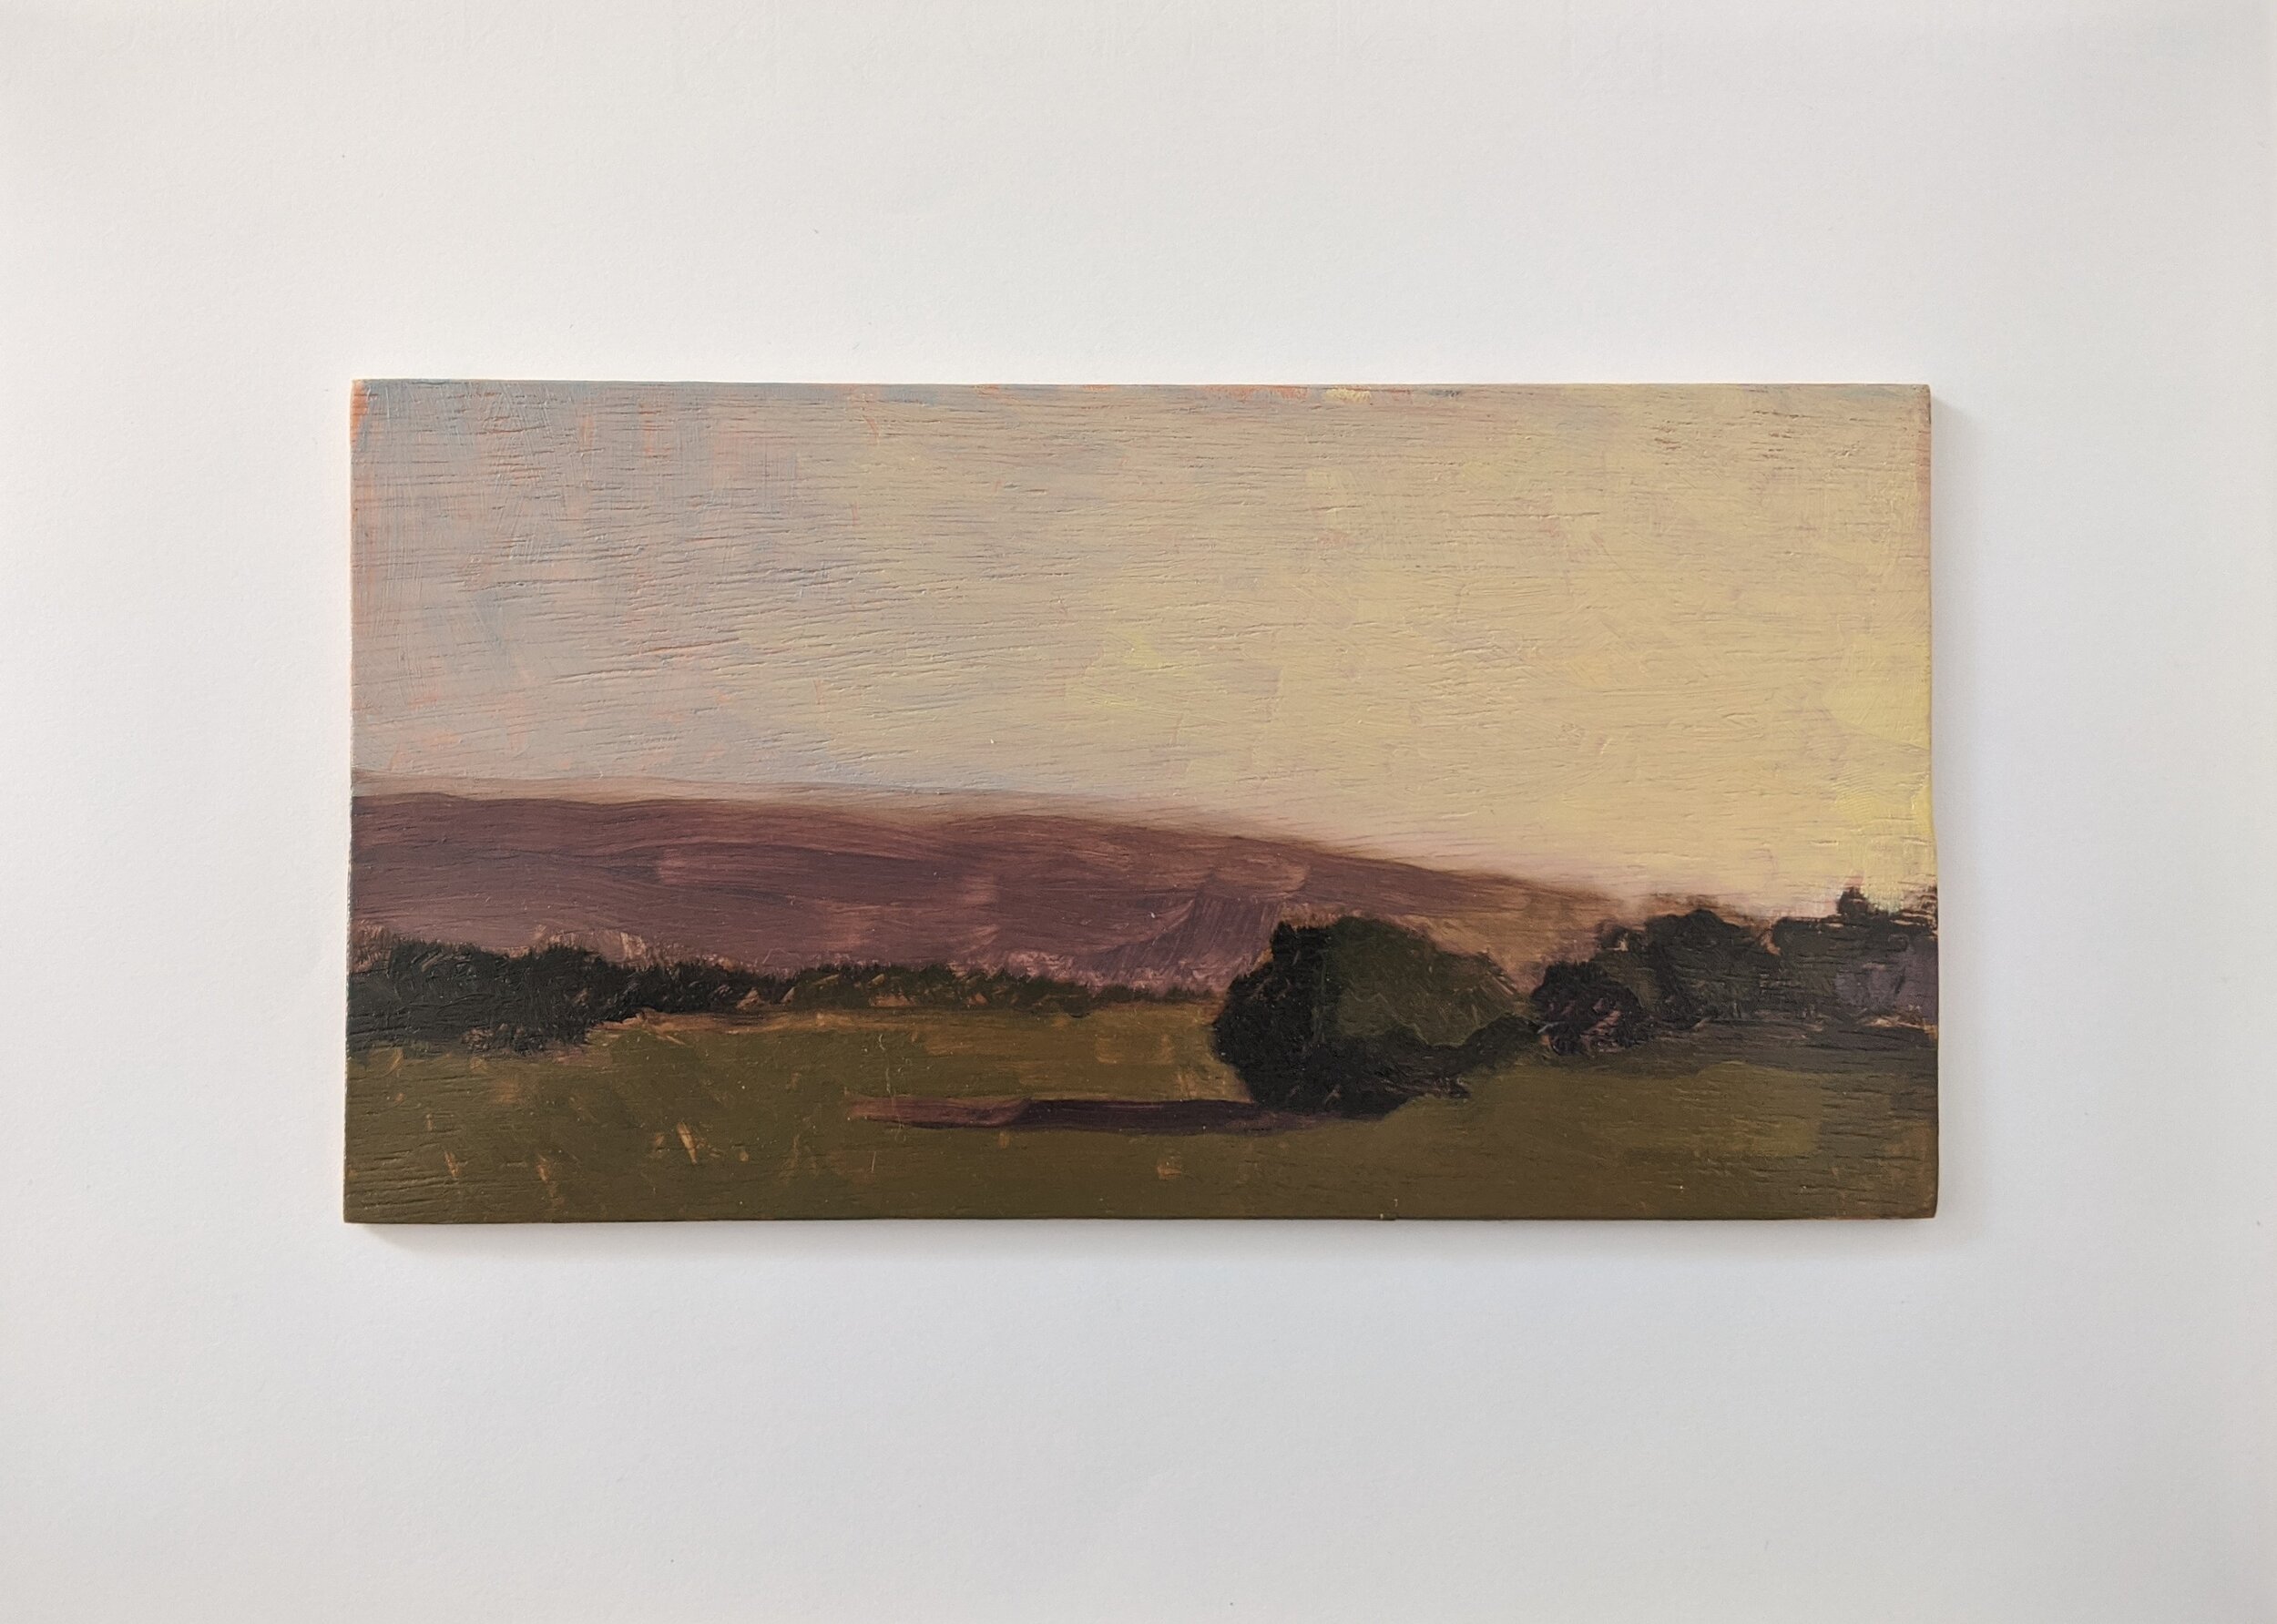
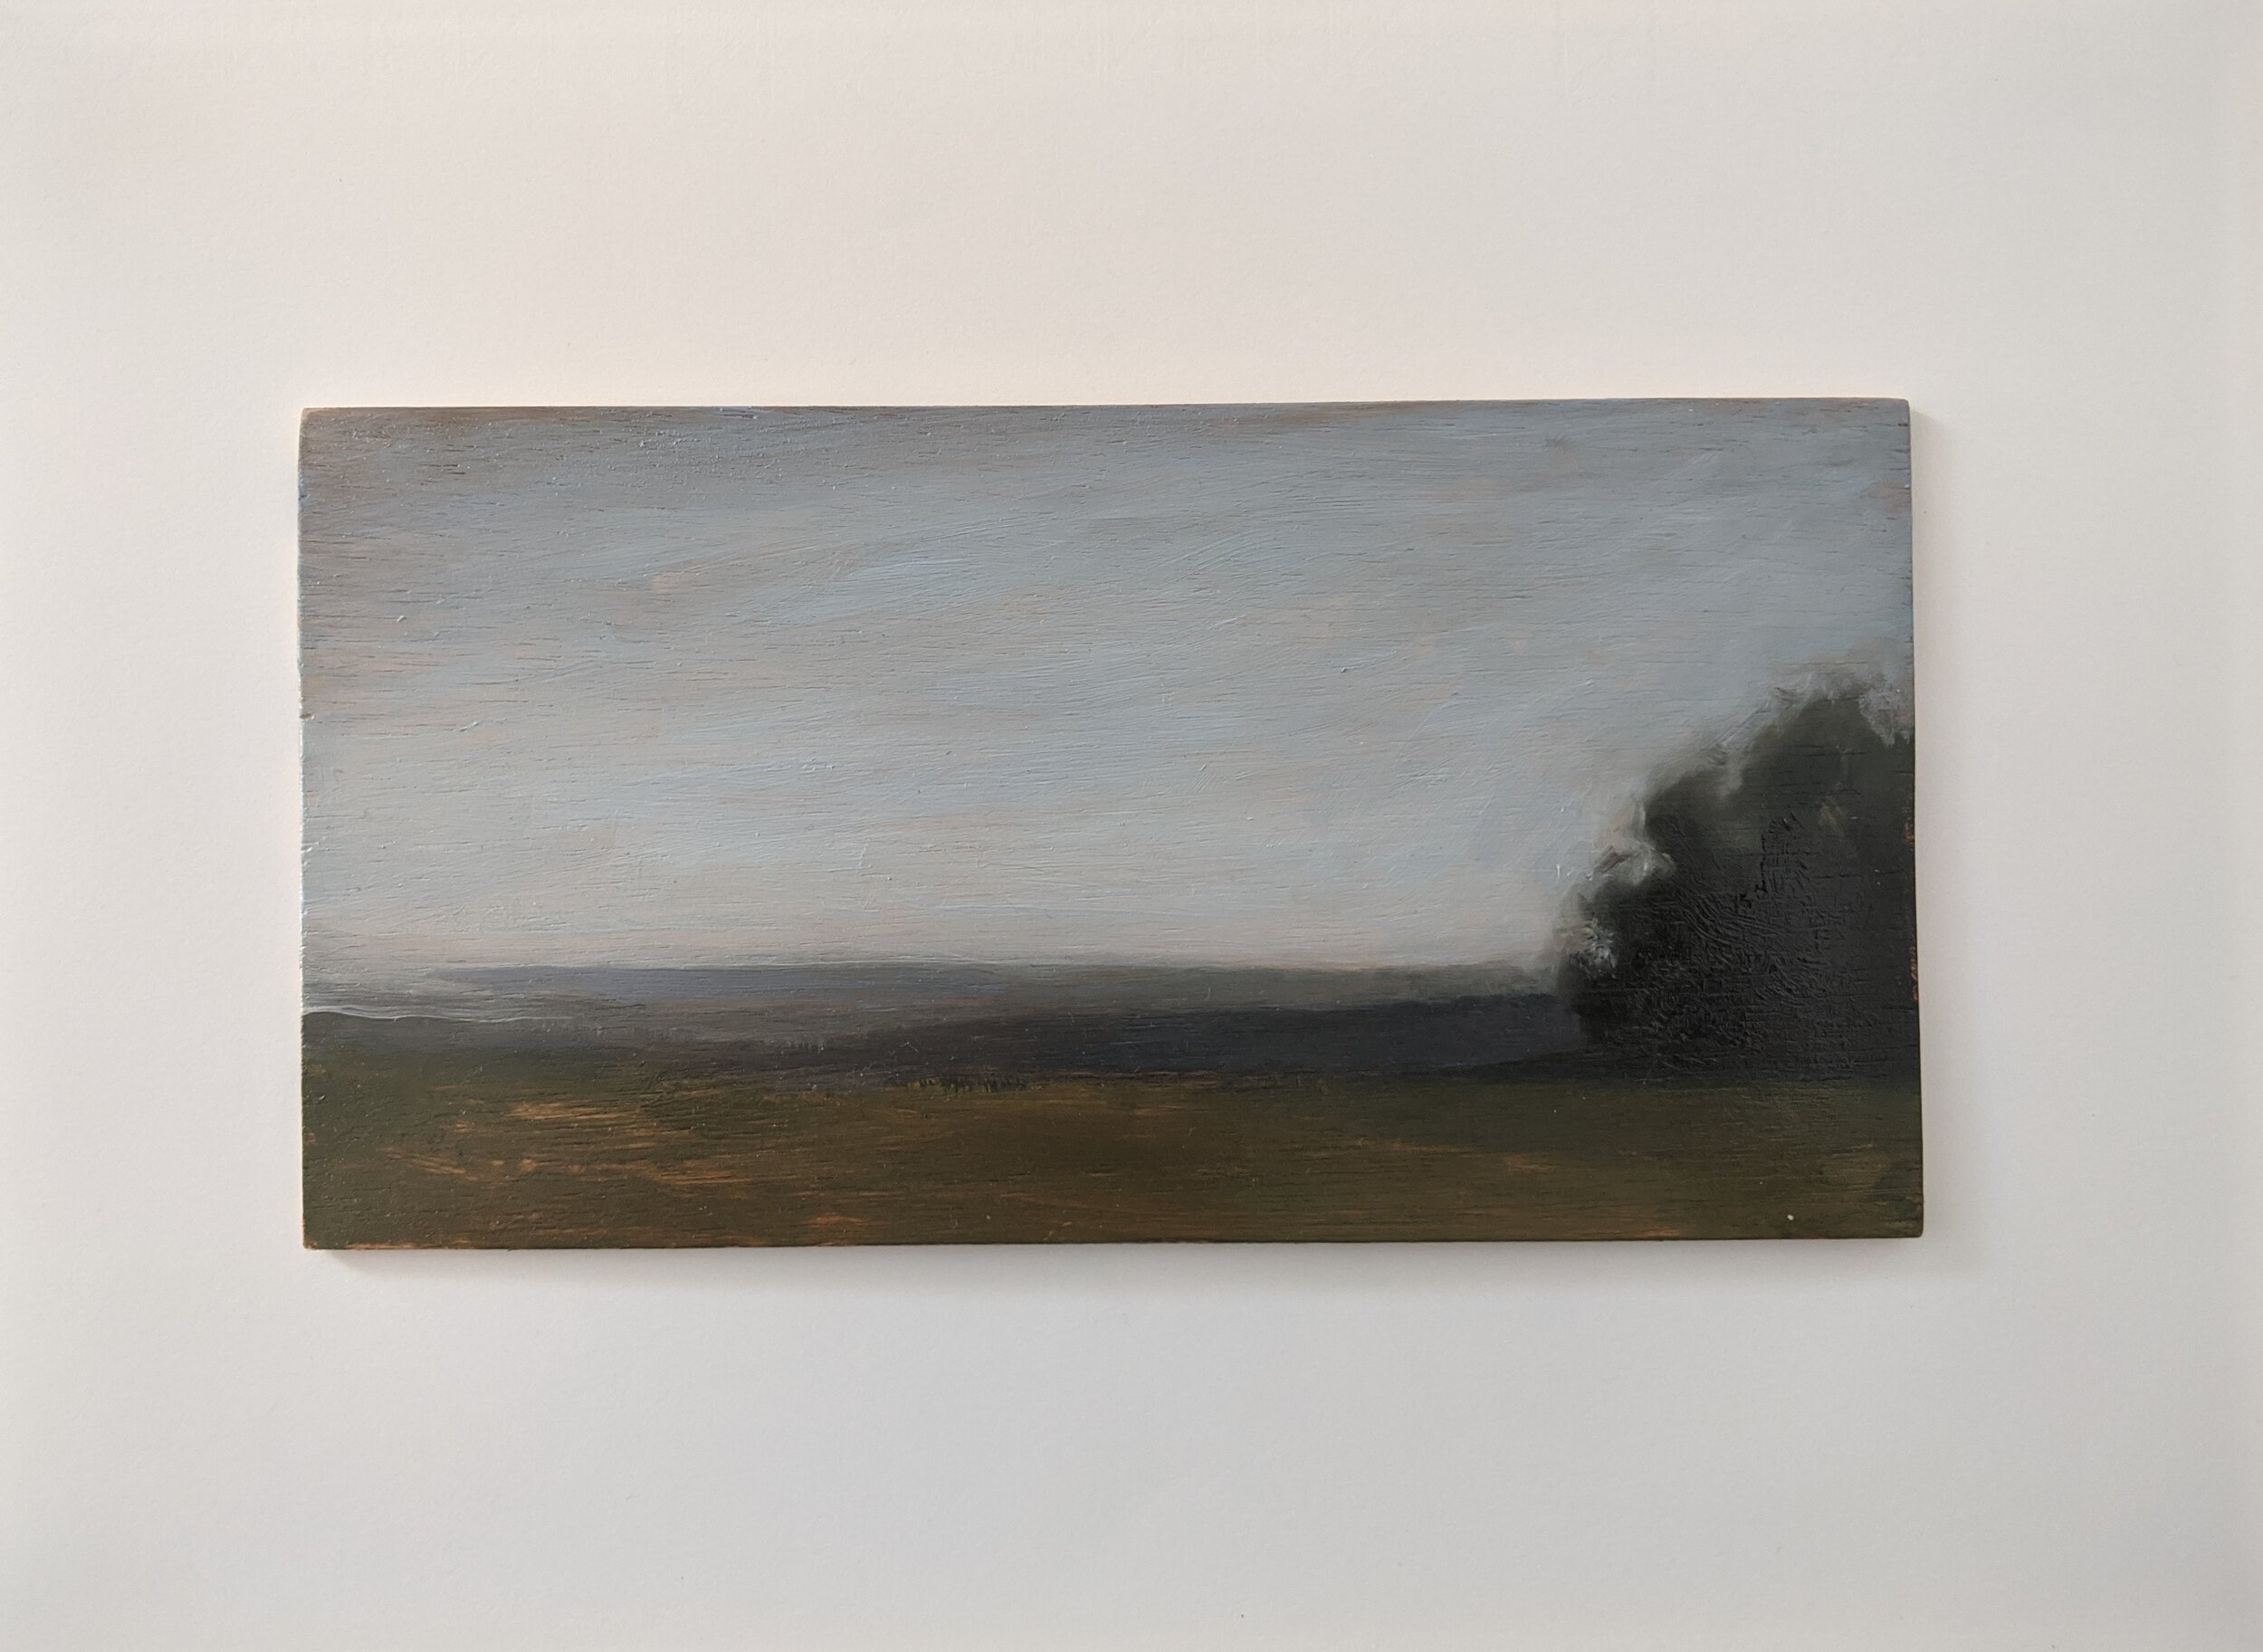
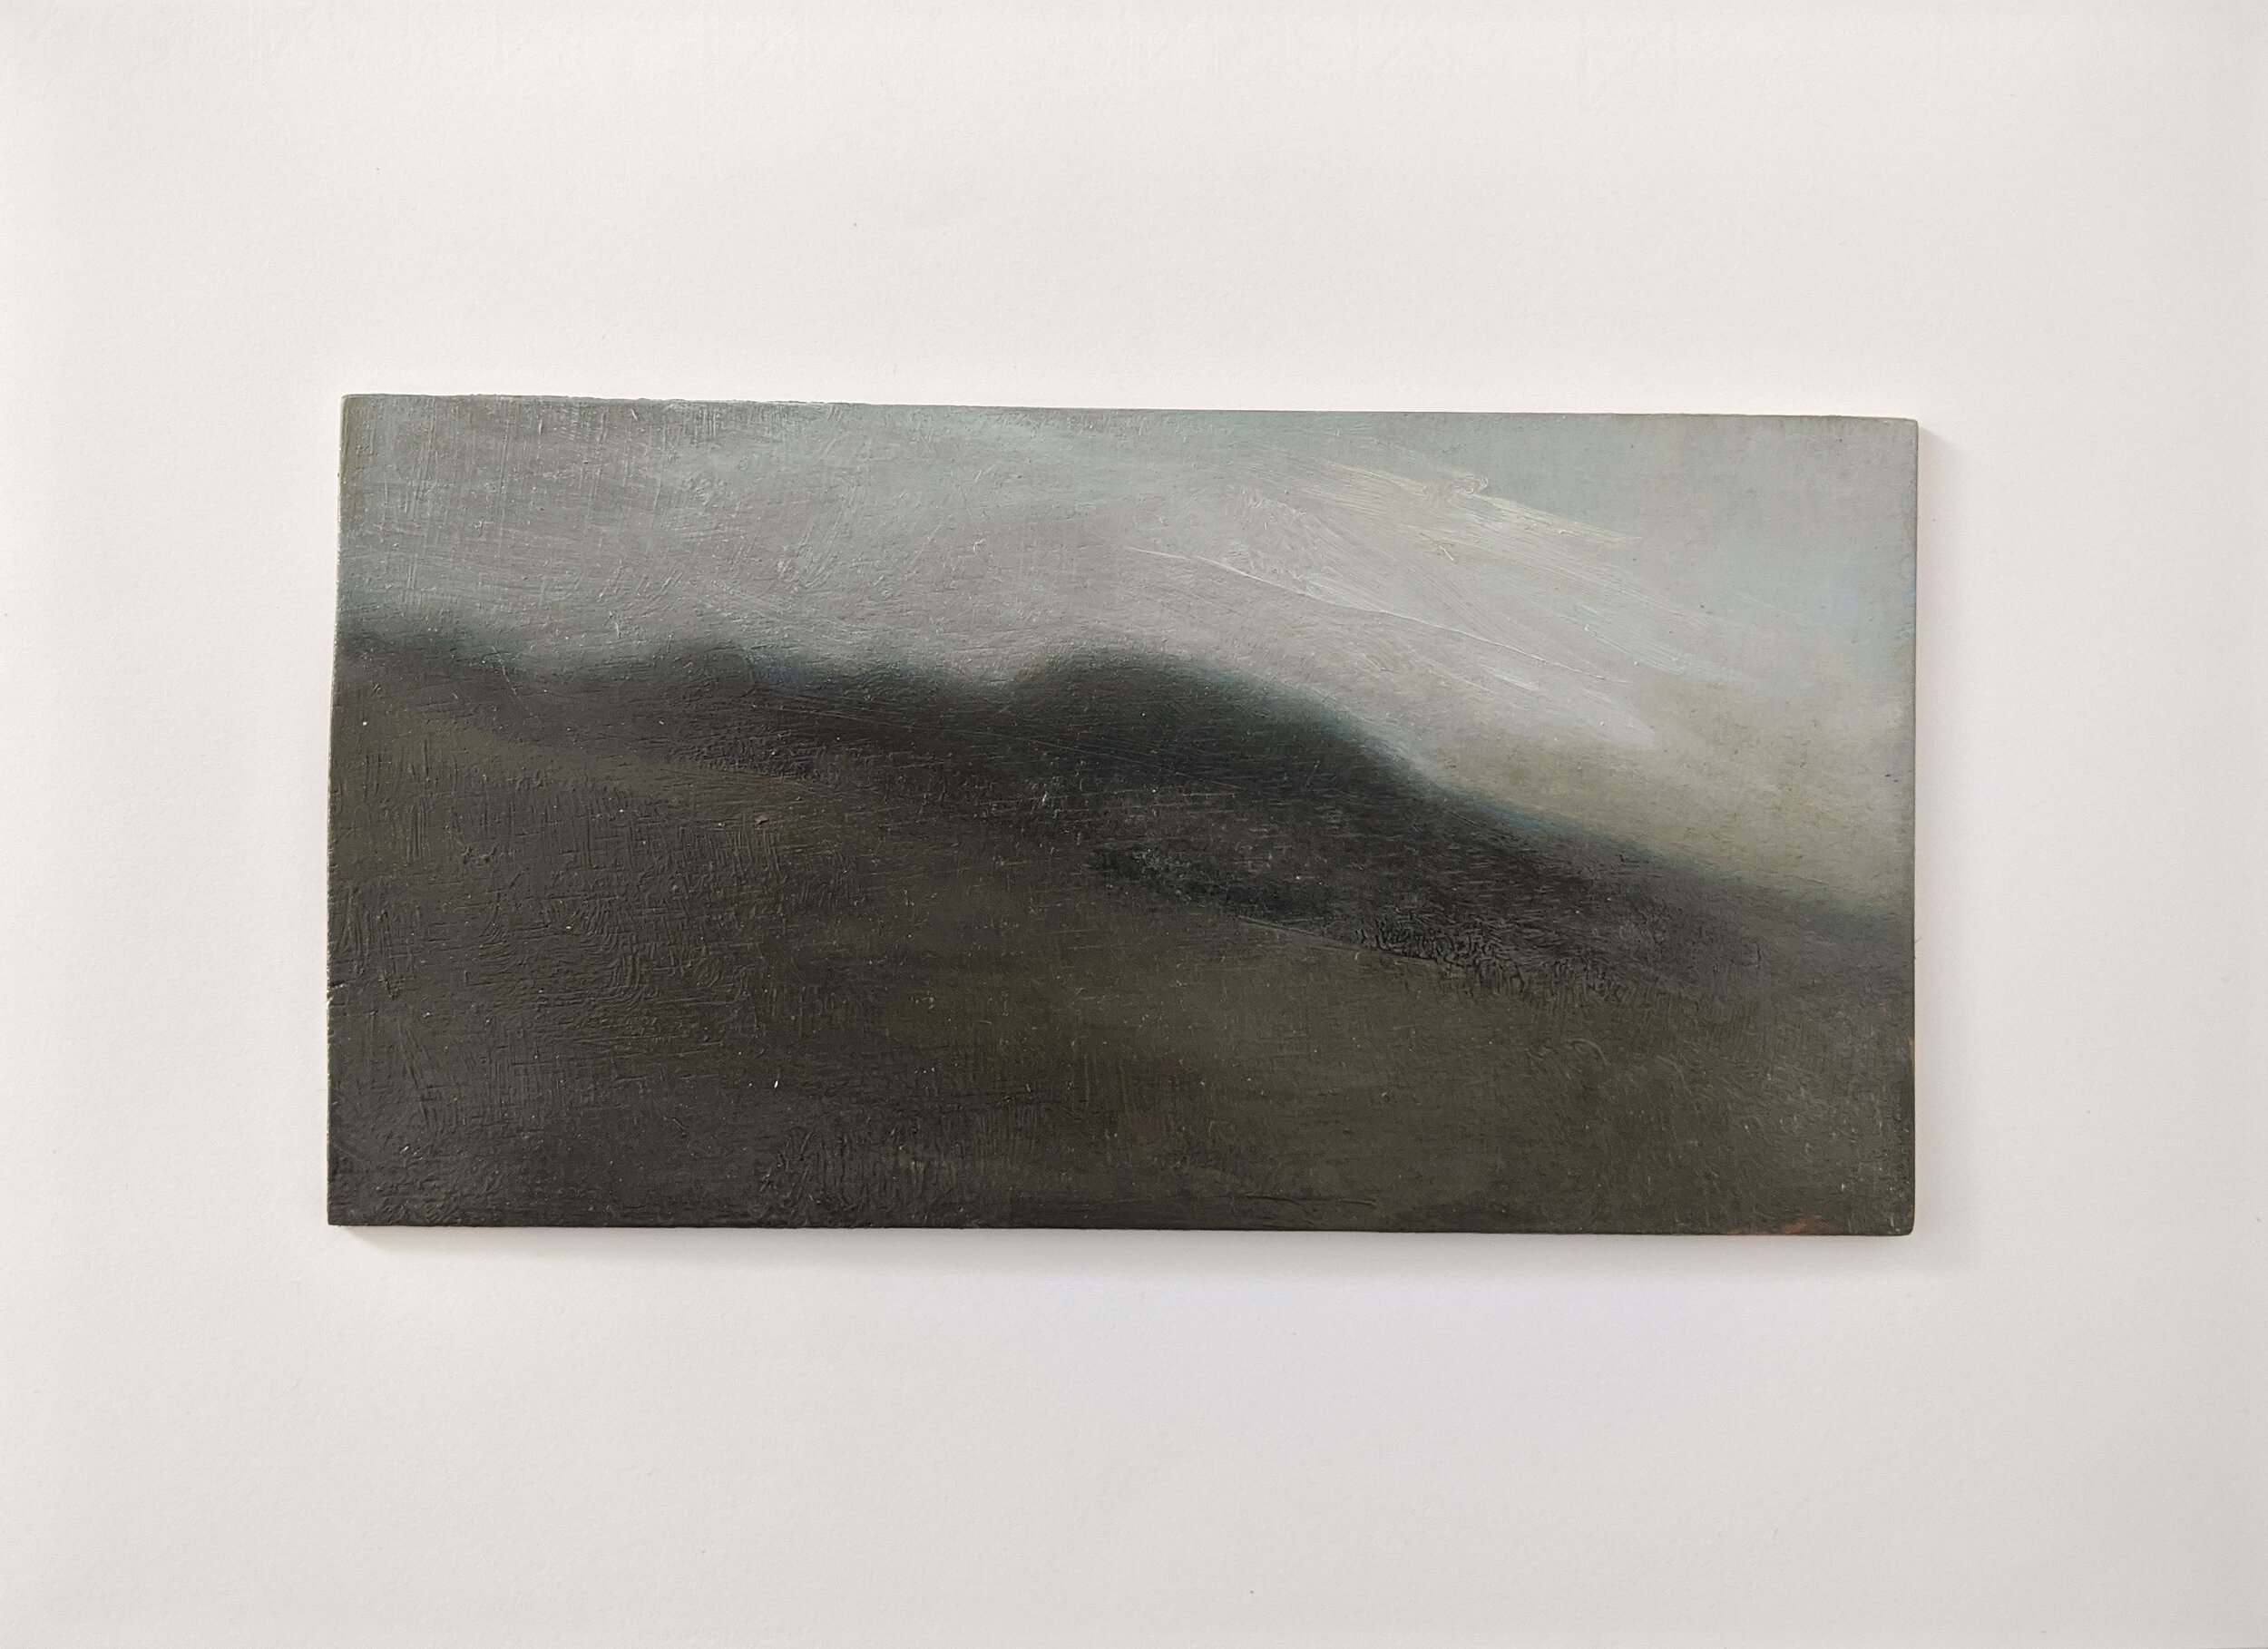
Here are some examples of recent small memory studies of the local Lewes landscape from evening walks taken during lockdown.

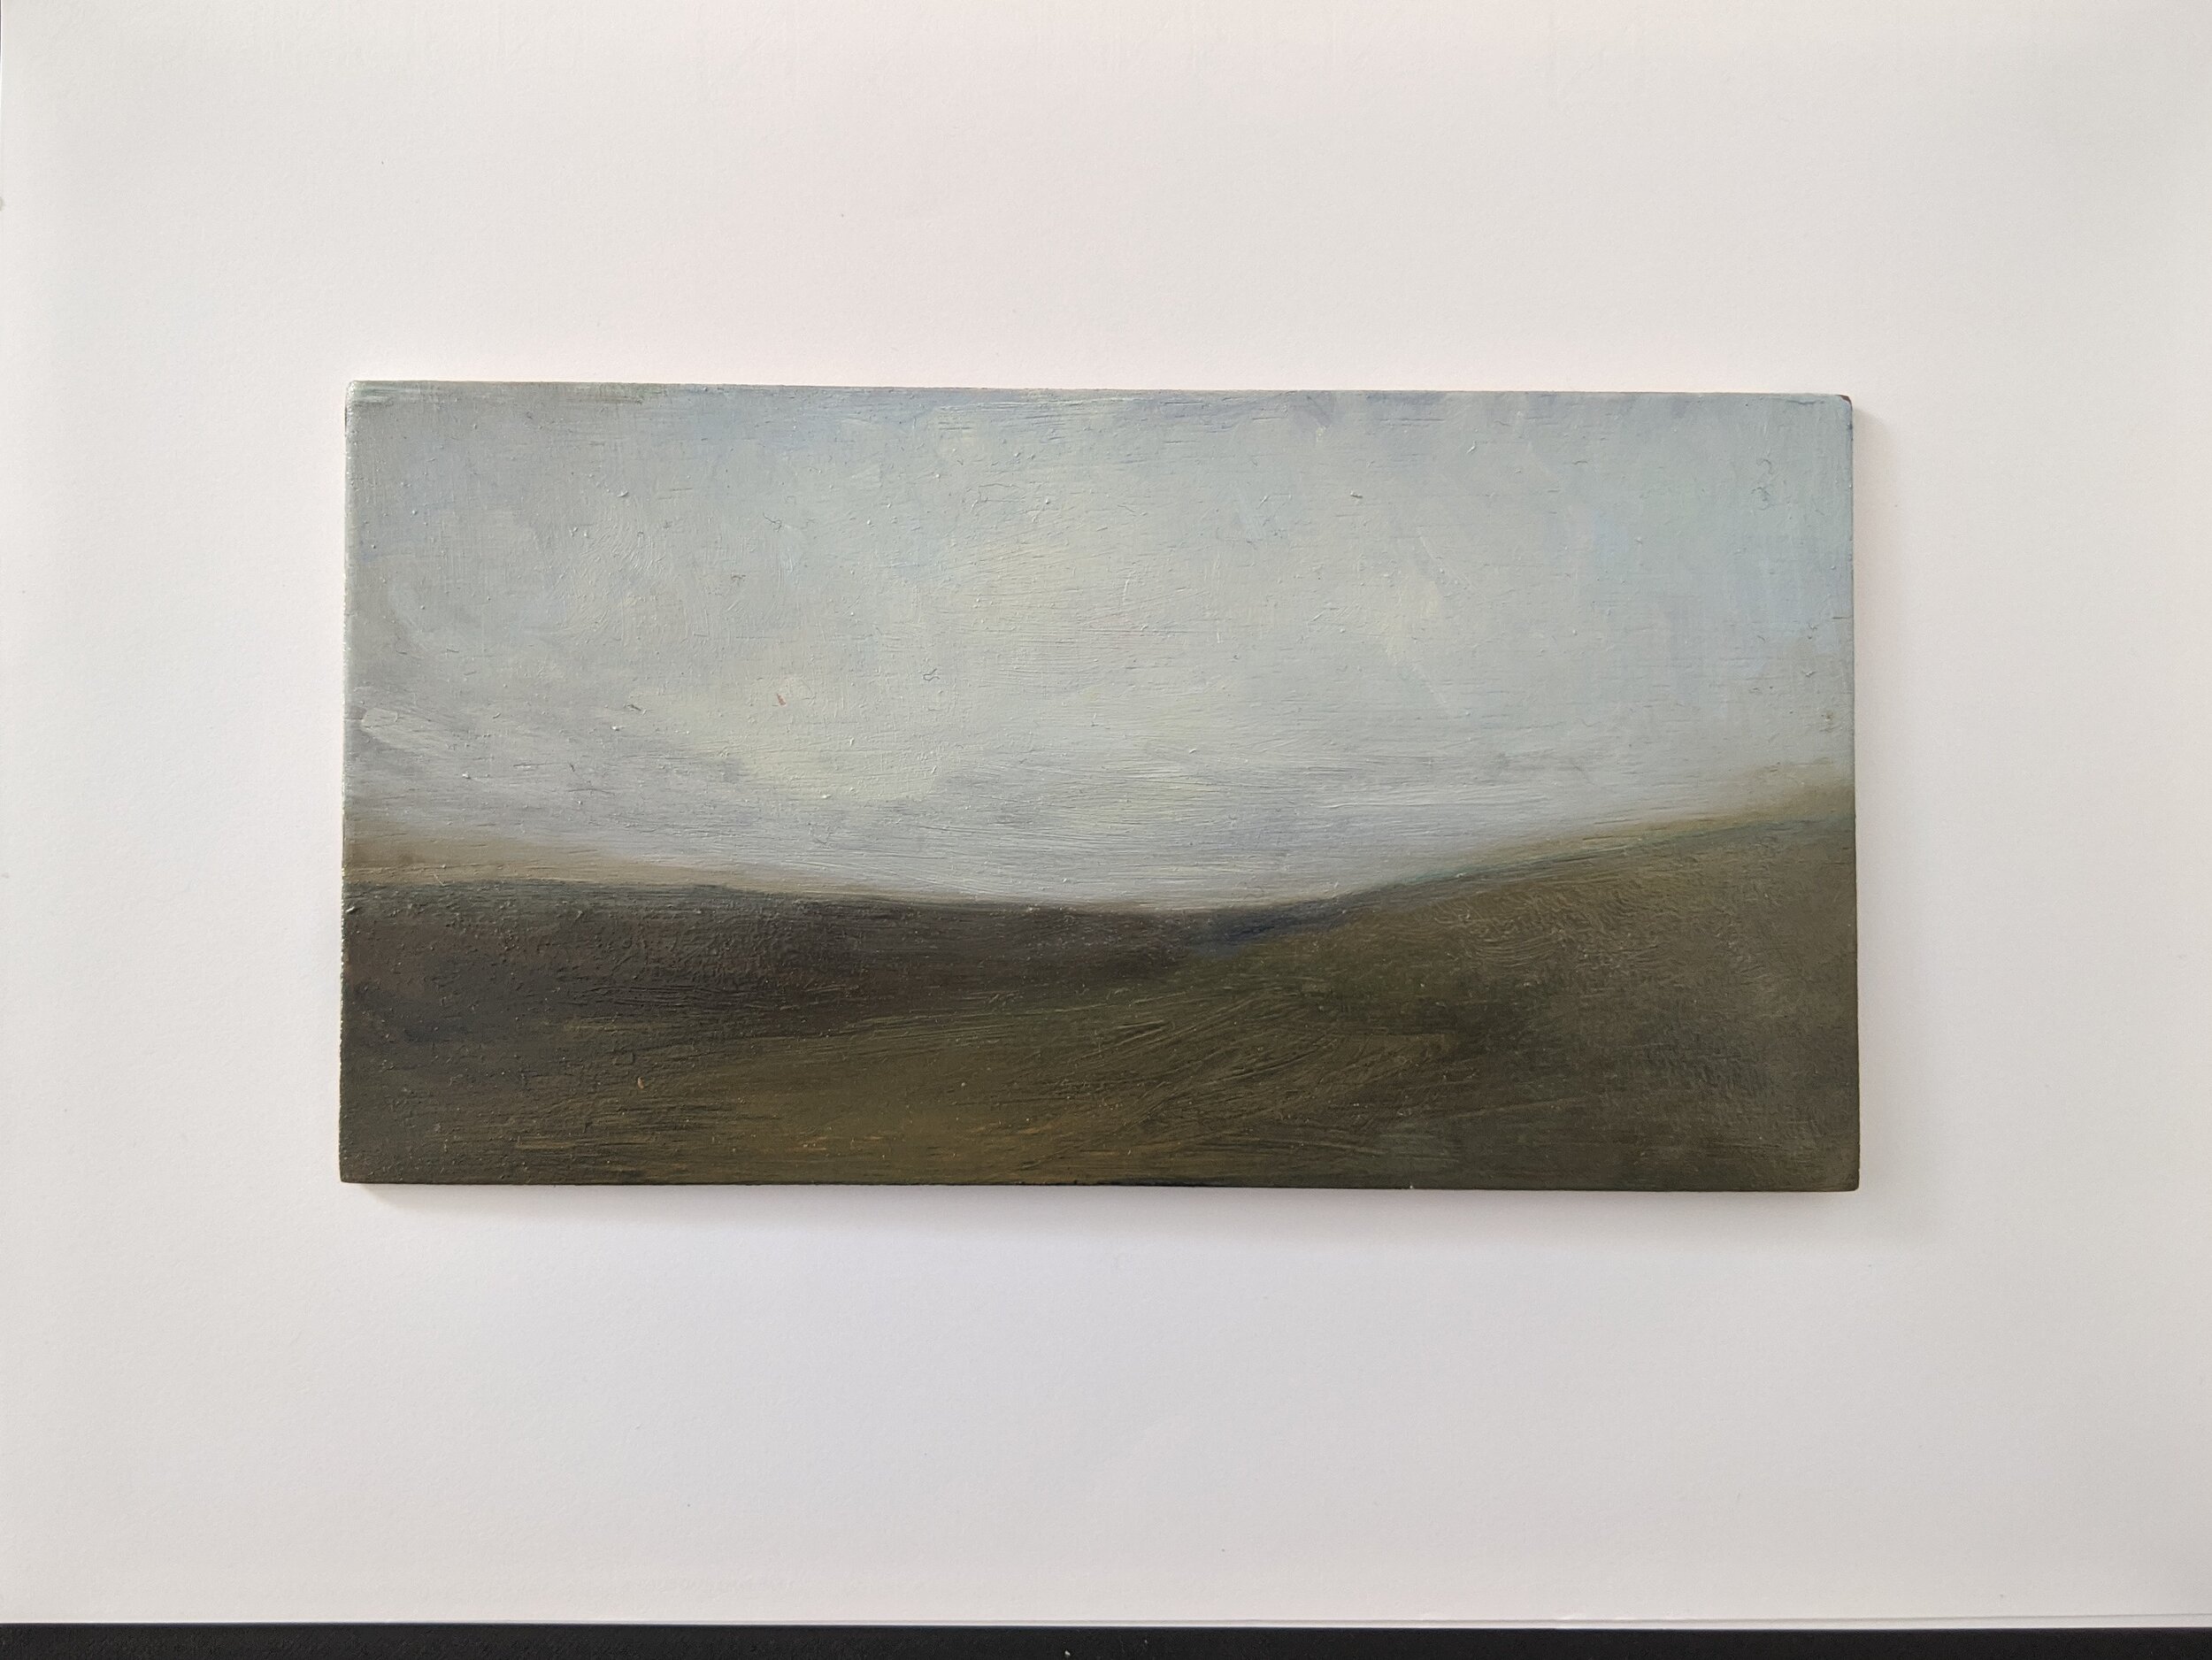
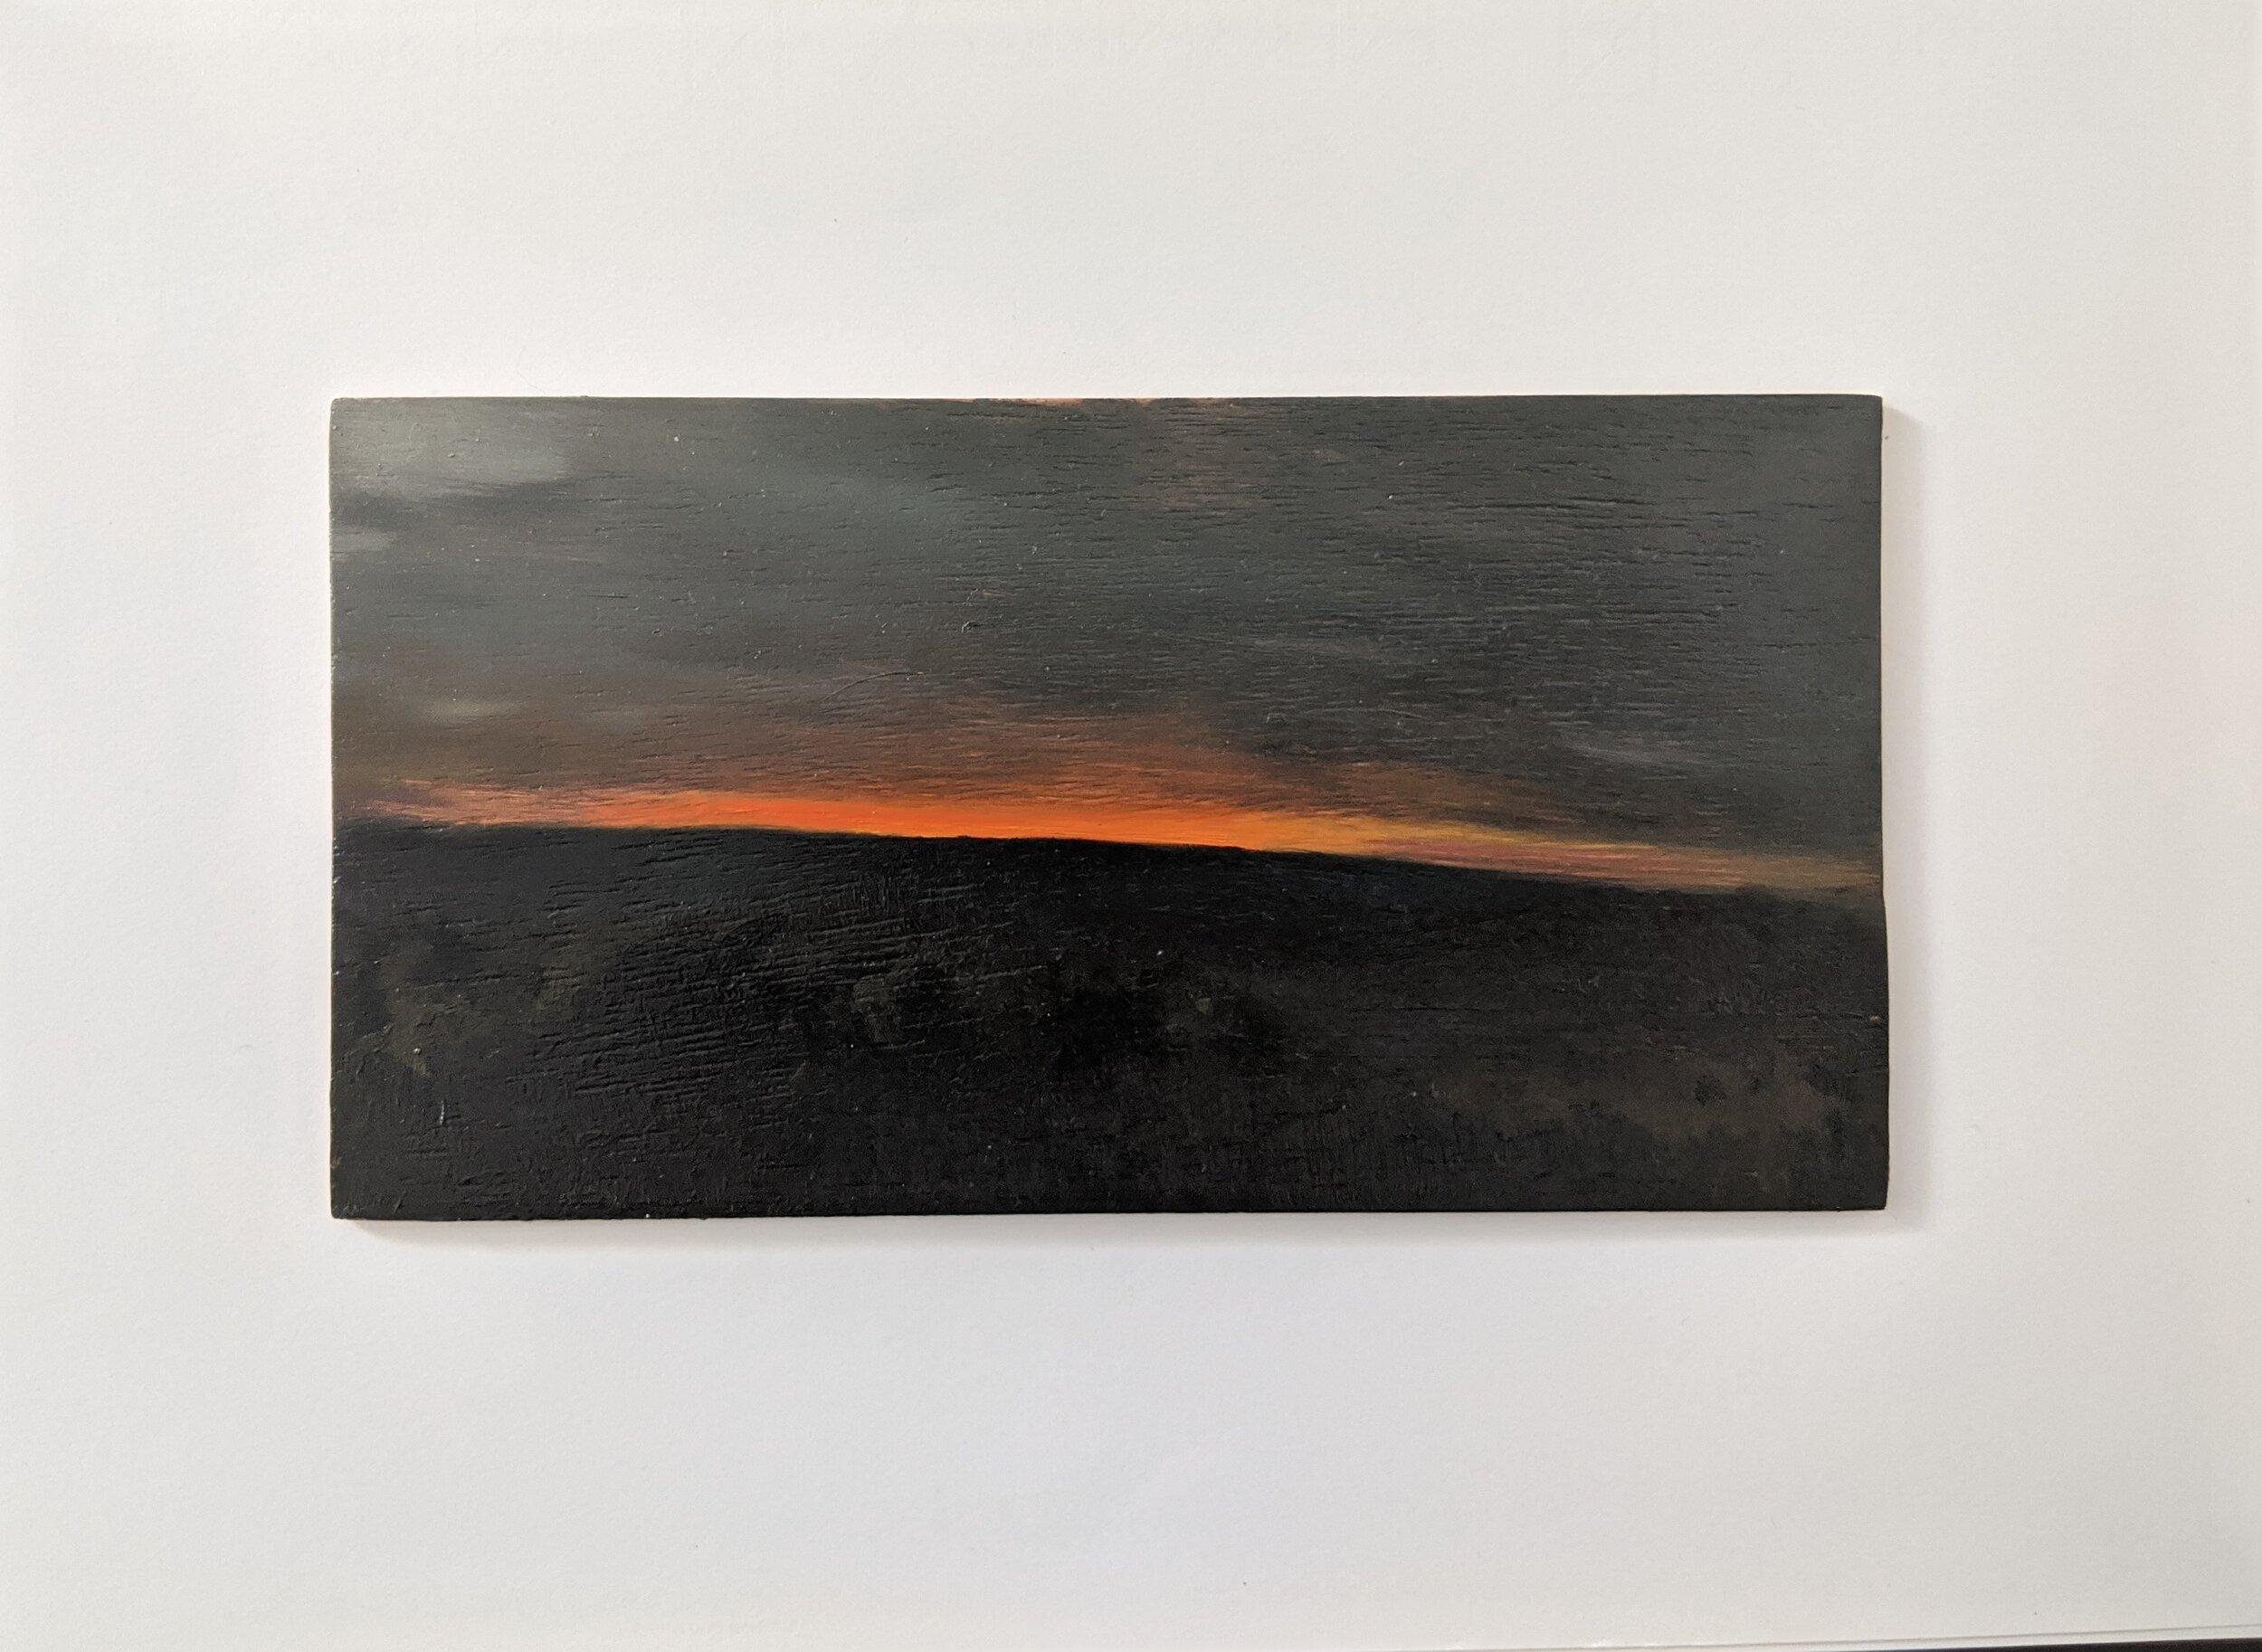
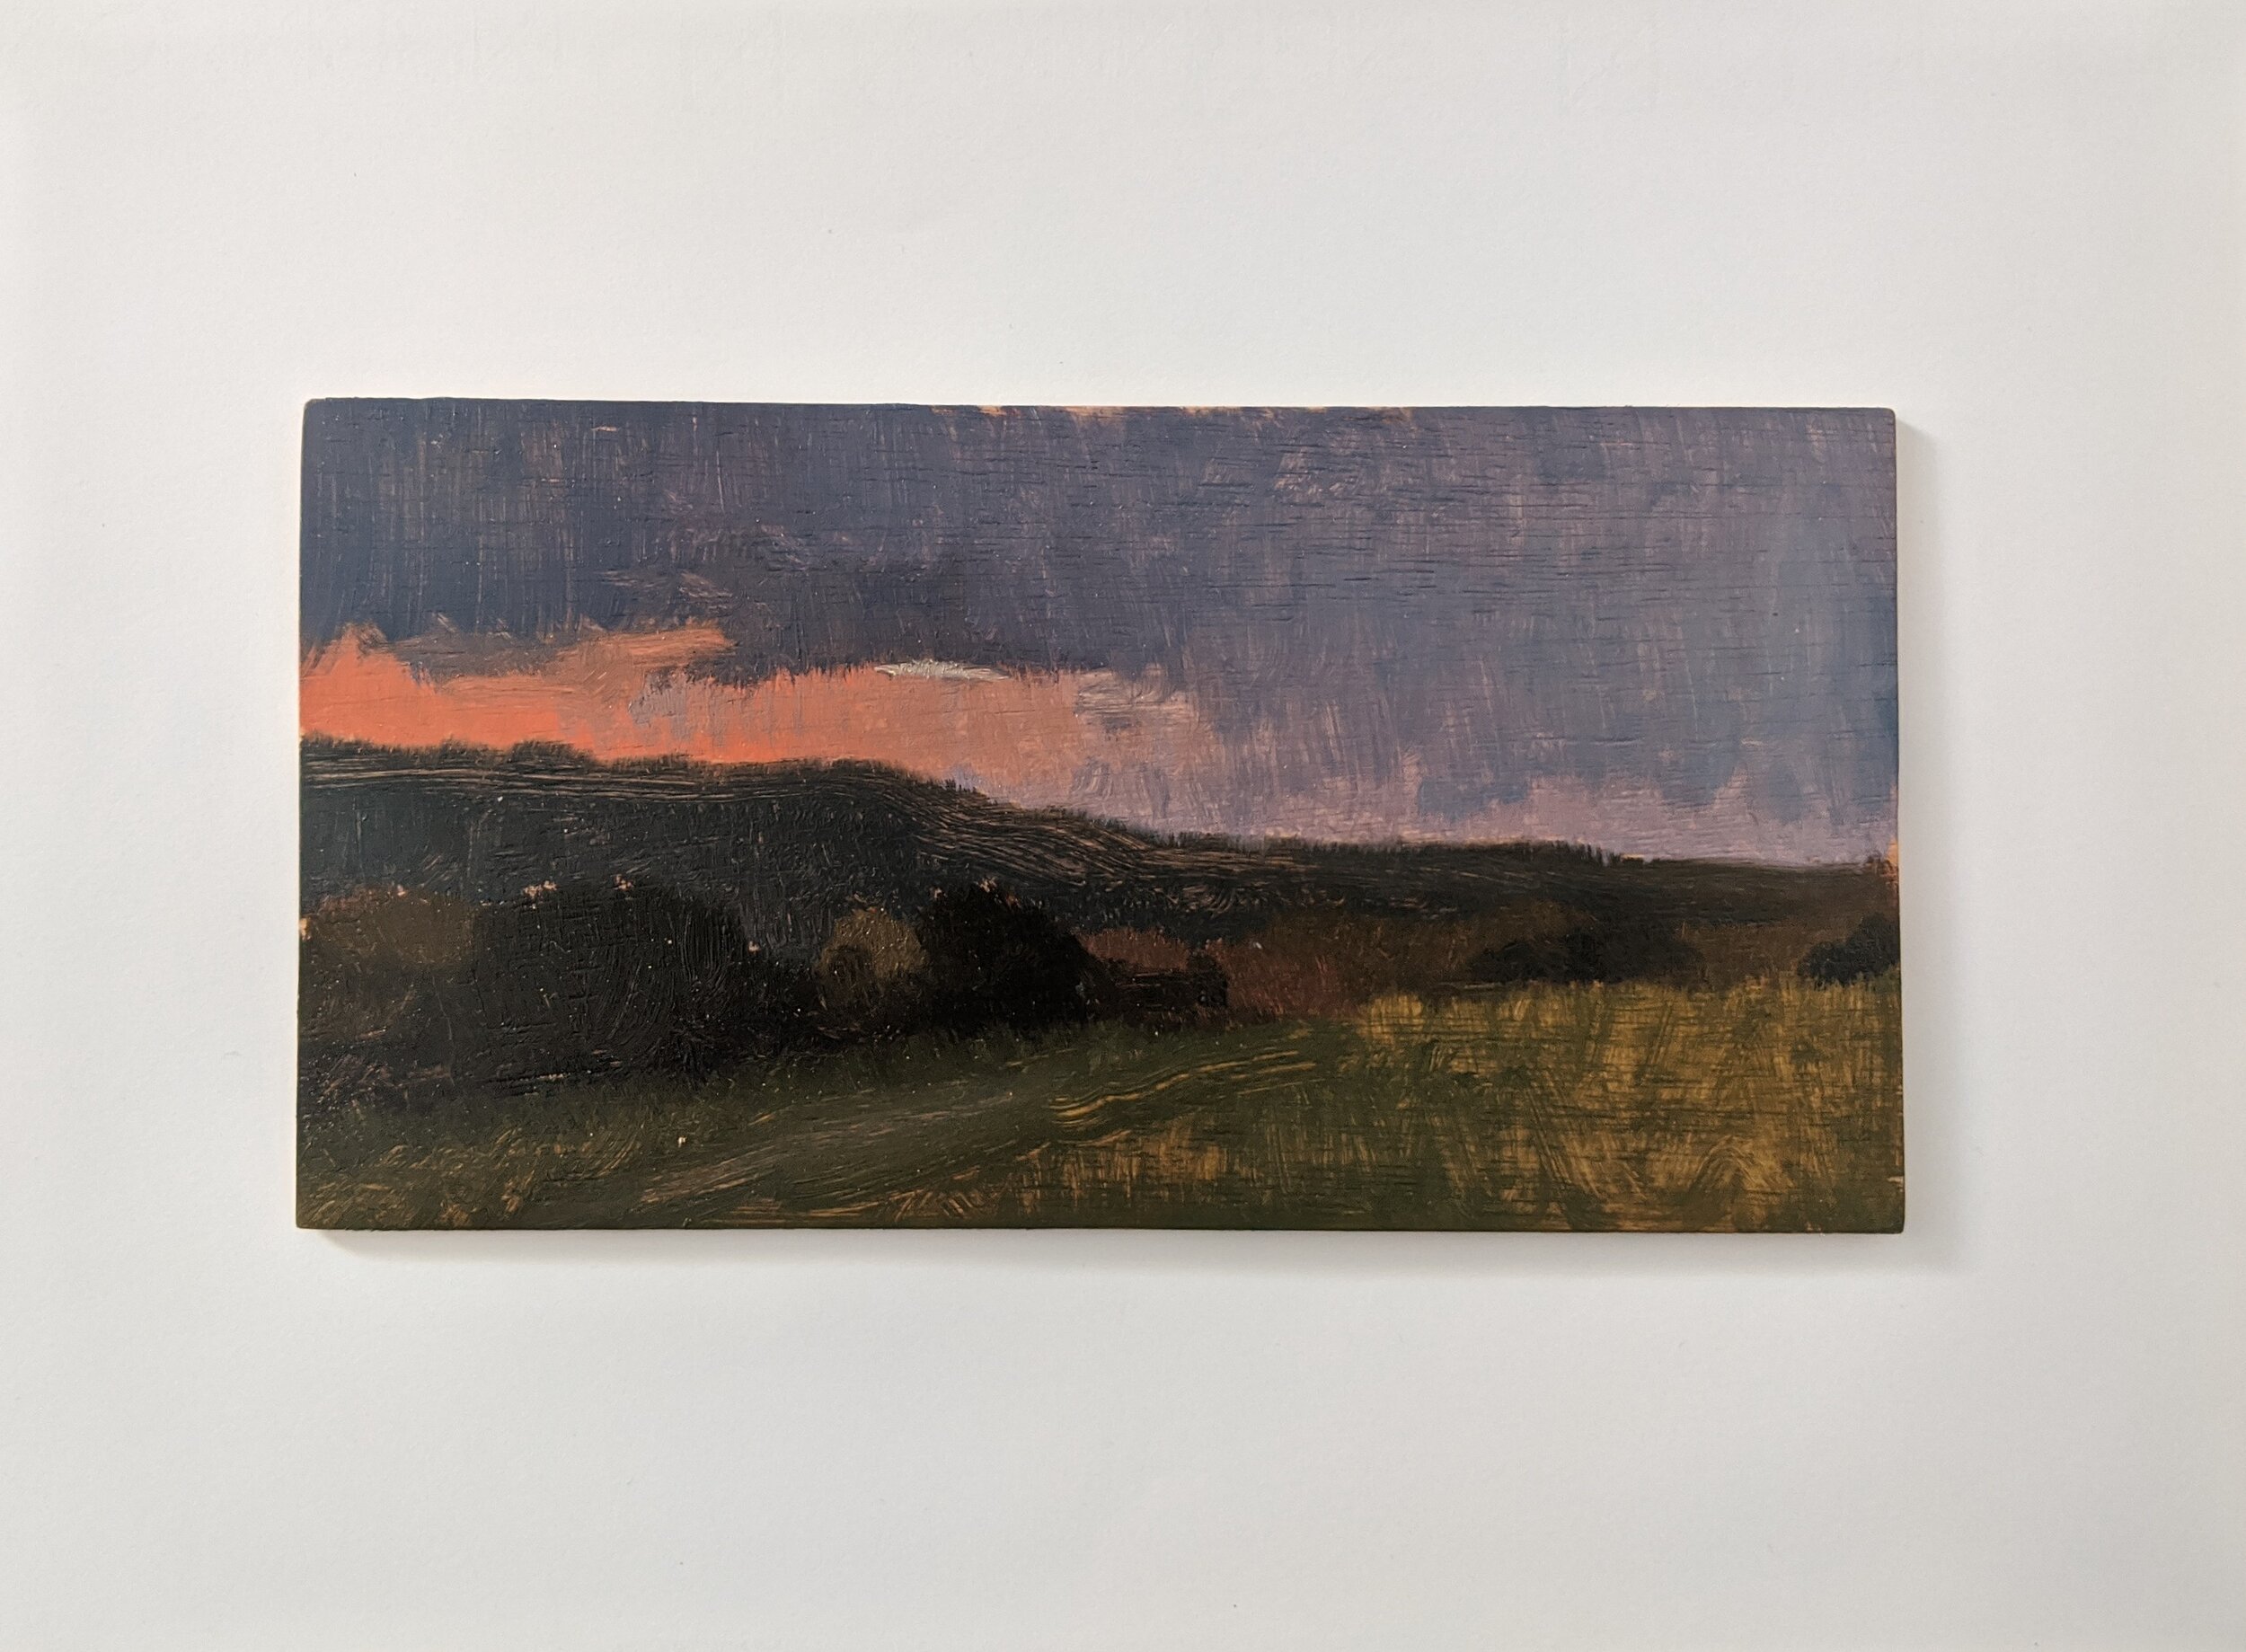
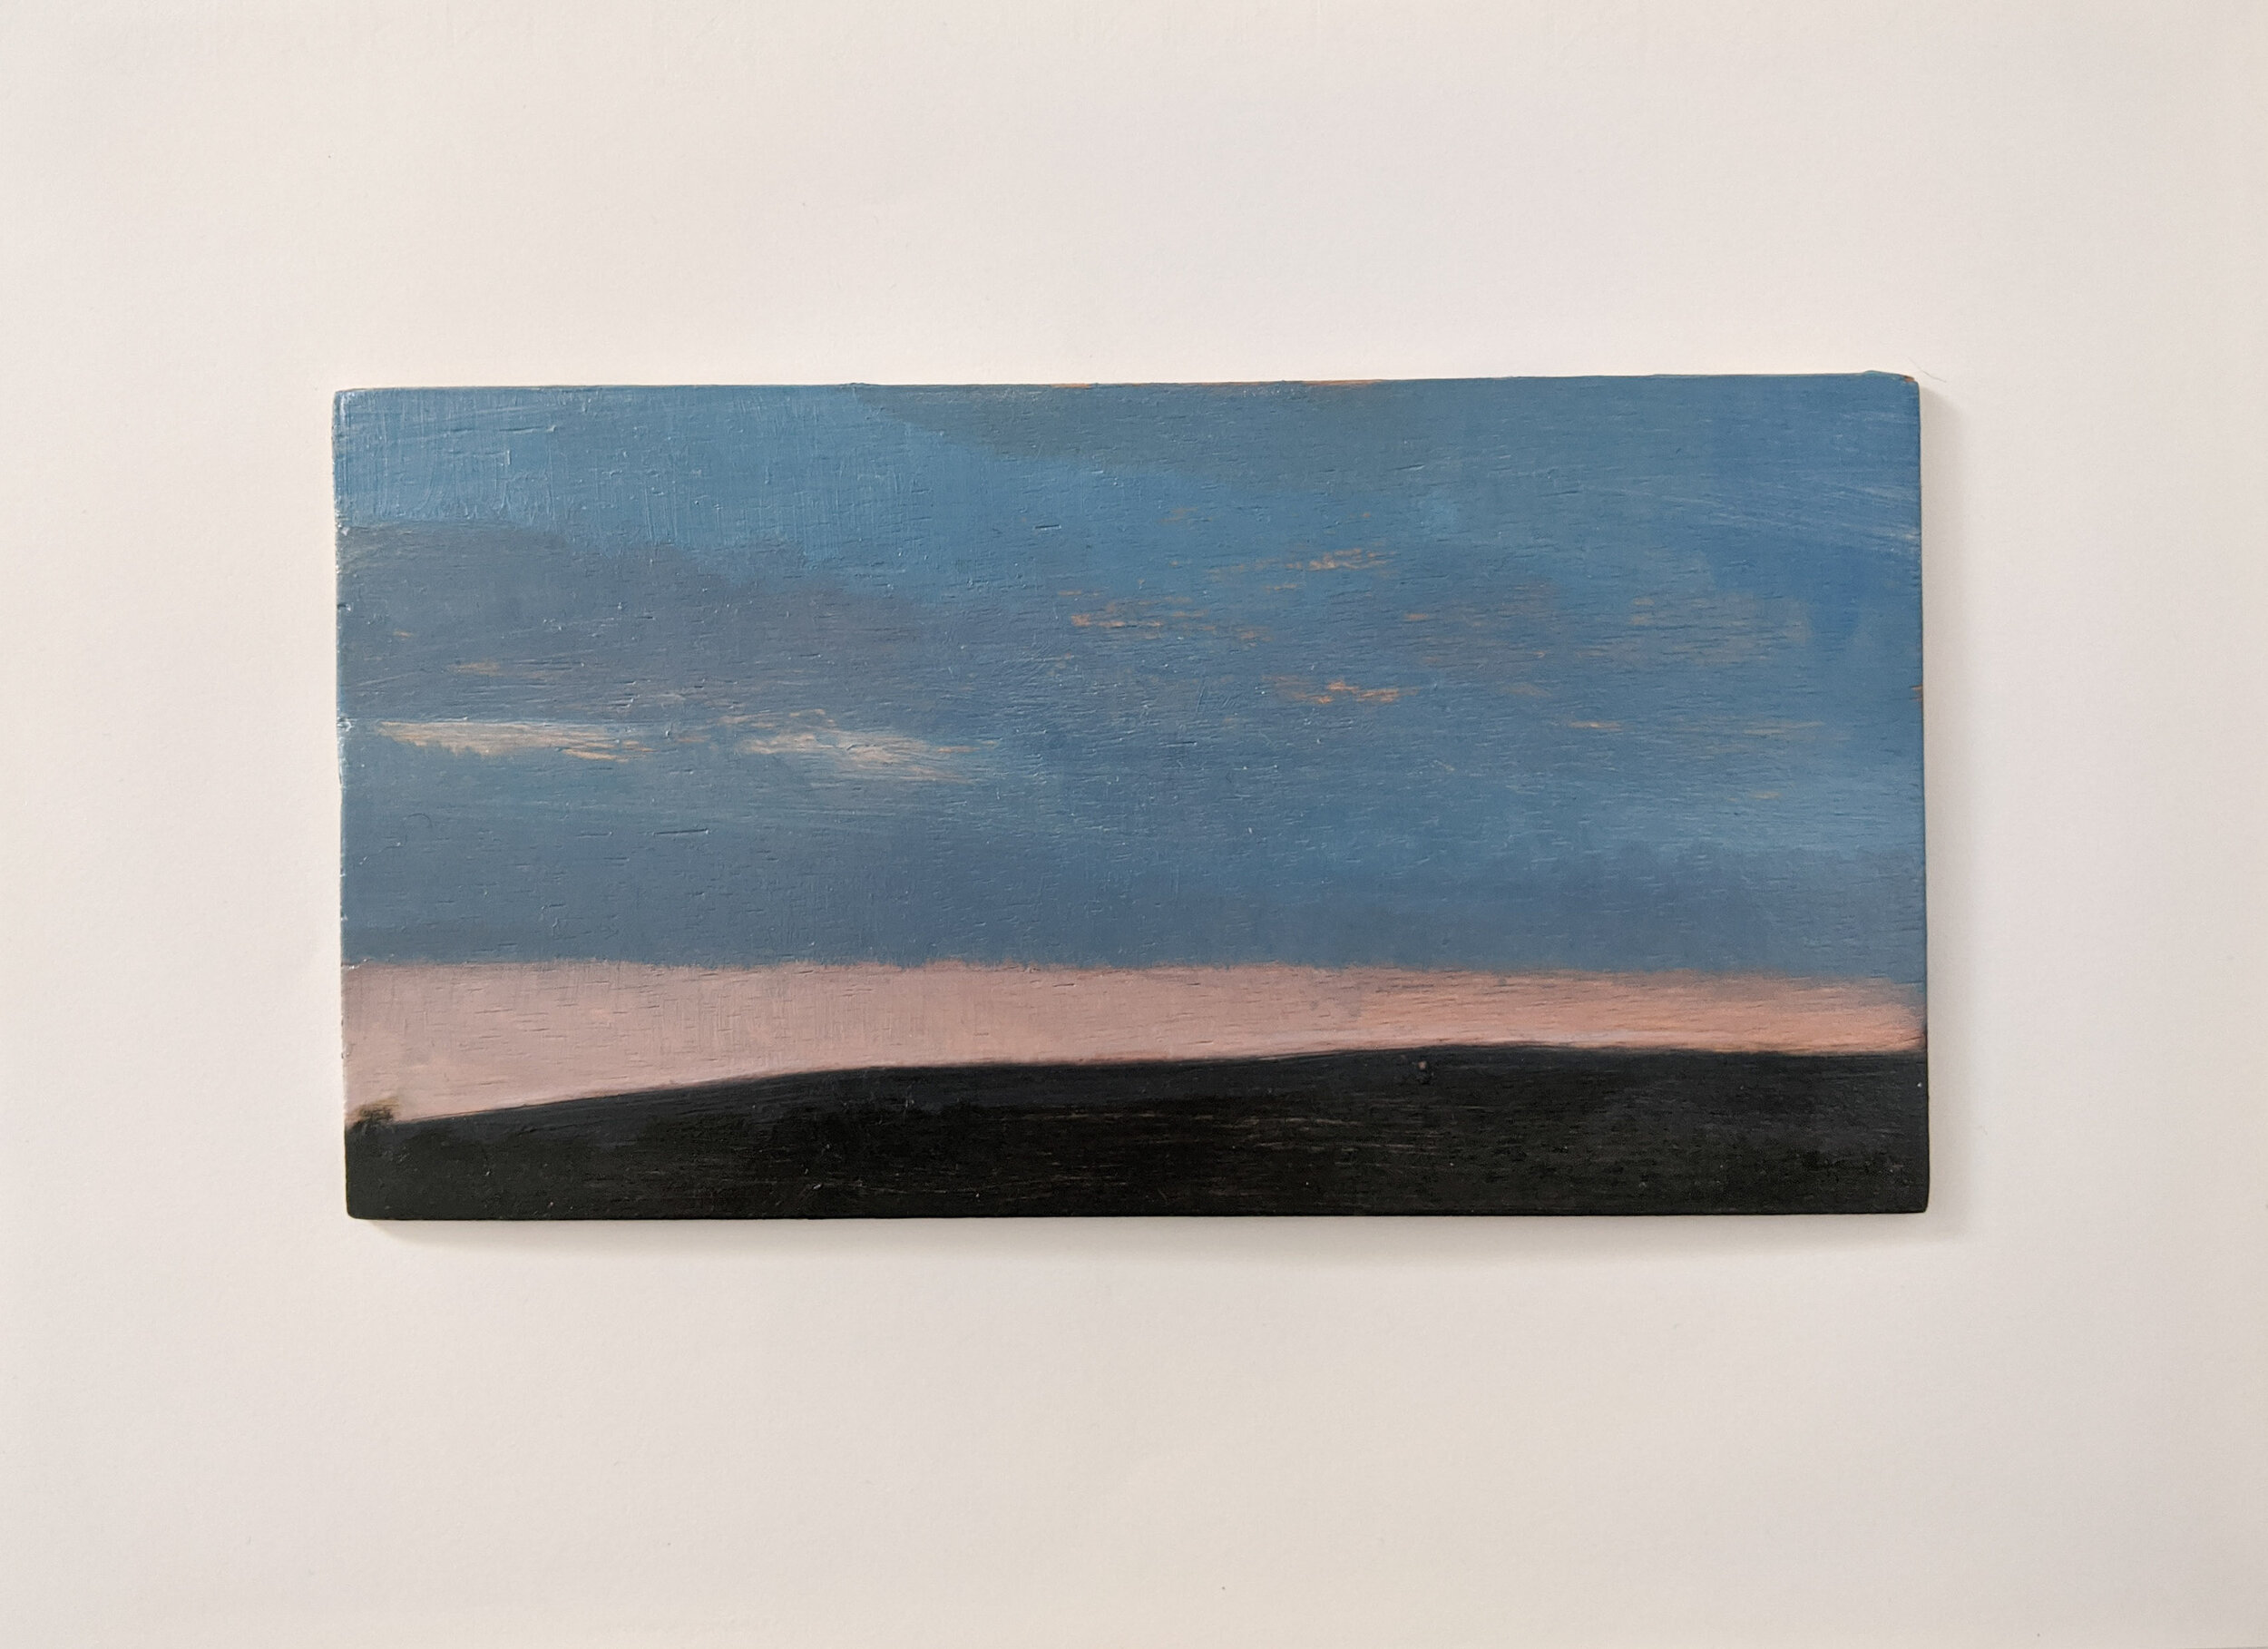
The video itself is here:
Artificial Lighting and the Artist Studio
Natural north light lit studios can be hard to come by. That’s particularly the case here in the south east of the UK where the price of property can be prohibitive. There are though modern electric lighting solutions, and whilst they still don’t compare to the real thing it is possible to establish a perfectly adequate set up. I’ve found information on the subject hard to come by so I thought I’d share what I’ve learnt. Perhaps it might be useful now in particular for those of you wanting to set up a painting studio at home.
Natural north light lit studios can be hard to come by. That’s particularly the case here in the south east of the UK where the price of property can be prohibitive. There are though modern electric lighting solutions, and whilst they still don’t compare to the real thing it is possible to establish a perfectly adequate set up. I’ve found information on the subject hard to come by so I thought I’d share what I’ve learnt. Perhaps it might be useful now in particular for those of you wanting to set up a painting studio at home.
Our first studio used artificial light only. Nowadays we use a combination of artificial and natural light in our smaller studio, and natural light in our larger studio. I’ve therefore had to do a lot of research over the past few years and have experimented a lot, with mixed results. The subject can become complex and most electricians and even specialist electric lighting providers are not familiar enough with it to offer much help.
The Natural Light Studio
Before exploring electric lighting solutions though it’s useful to understand the ideal lighting environment for a representational painter.
Form is primarily revealed through light and shadow. Lighting - its direction, quality, colour, intensity - should therefore be one of, if not the, primary concern when setting up a project. (I’m often surprised at how little thought seems to be put into the lighting in some art studios!)

John Singer Sargent’s studio, 33 Tite Street, Chelsea, London
Ideally both your subject matter and canvas would be lit by the same light source, so that colours and values placed on the canvas would be seen under the same light as they are observed in nature. Working sight size (with the canvas placed alongside the subject) allows for this by design.
In the northern hemisphere, a north facing window will provide a cool light in a relatively unchanging direction. By using north light you avoid having direct sunlight shine into the studio while you work, and your subject matter and painting will be seen in the same cool atmosphere.
Light from east, west and south facing windows is constantly changing and is therefore not conducive to painting from life. These conditions can be managed though - attaching a translucent paper (such as tracing paper) or similar to a window can help diffuse direct sunlight, and carefully choosing your painting hours around the movement of the sun across the sky can help manage any change in direction of light.
A larger light source will produce more diffuse shadows, whereas a smaller light source will focus the light and produce more defined shadow edges. A light source approximately 1 metre square works well.
The angle of the light is important. A high light source can reduce glare on a vertical canvas but if too high creates deep shadows in the eye sockets, and under the nose and jaw of a sitter, which can be unflattering. A side light (90 degrees) tends to flatten form, and can be difficult for a sitter to look into. It can can also result in substantial glare on a vertical canvas. Low lighting (below eye level) can sometimes provide an interesting effect but is atypical. When working sight size a balance may need to be found between the desired lighting conditions of the subject and those that work well on the canvas. Light from an angle of around 35-45 degrees tends to work best for both subject and to manage glare.

Women’s life drawing class at the Art Students League, c. 1903. Archives of the Art Students League of New York
The placement of the subject and canvas in relation to the light source is also important. If the subject is placed close to the light source, shadows will be longer and more intense. Whereas shadows will be softer and more diffuse at a distance.
Even with the ideal light source, managing the amount and intensity of direct light and reflected light is important. A good studio would usually be equipped with a variety of blinds, curtains or drapes to manage the amount of direct and reflected light entering the room. Reflected light inside the room can managed with dark non reflective walls, floors etc. Blocking off the lower part of a window will stop light reflected from objects outside and using a hood above the window will block light reflected from the ground outside onto the ceiling and into the studio.

Rembrandt’s studio, Amsterdam - note the hood above the far window
Of course even north light is constantly changing. It is cooler in the morning and warmer in the early evening. Shadows are darker and edges more diffuse on overcast days whereas there will be more reflected light on bright days. Since nature is constantly changing, even in ideal lighting conditions it is the painters job not to merely copy but to learn to select from a variety of ideas presented over the course of the painting.
Electric Lighting Solutions
If the intention is to approximate the ideal natural light painting conditions then an electric lighting set up should bath the subject and canvas in a cool soft light of sufficient quality and intensity at an angle of between 35 and 45 degrees.
The colour temperature of a light source is measured in Kelvin (K). Colour temperatures over 5000K are cool (blueish), while lower colour temperatures (2700-3000K) are warm (yellowish). A regular household incandescent bulb gives a warm light and measures around 3000K. An artificial light with a Kelvin of 5500K gives a white light and one with a 6000K gives a cool blue light closer to north light. 5000k-6000k work well in an artist studio.
Colour rendering index (CRI) is a measure of the ability of a light source to reveal the colours of various objects faithfully in comparison with a natural light source. So for artist studios artificial lights with a high CRI, ideally over 90 and as close to 100 as possible, are desirable.
Brightness is measured in Lumens. The brightness (total Lumens) you require will depend on the size of your room, positioning of lights (height and distance from subject) and other factors. The calculations are complex but broadly, for a medium sized room, a total of 5000-8000 lumens should be sufficient.
Depending on the size of your studio, a metre square high north light source could therefore be approximated using one or more 5000K-6000K CRI90+ lamps positioned a little back from and above your subject and canvas, such that the angle of light to the subject is 35-45 degrees. Ideally these would be dimmable to allow for different effects or moods and to fine tune brightness.
Once difficulty with low or medium height rooms can be ensuring sufficient brightness in the room as a whole whilst maintaining a diffuse soft light on the subject and canvas. Of course this can also be an issue in a natural light studio. To manage this additional electric lights could be added to the far ends of the room away from the subject, being sure to block the light from these onto the subject with well positioned blinds or drapes.
What are the Options?
To my knowledge no current electric lighting solution can compare with the beauty of natural light. However, daylight replicating solutions do exist. You can find fluorescent, compact fluorescent bulbs and LEDs with good CRI and CCT numbers online or in specialist lighting stores. LEDs tend to be the most energy efficient but can sometimes struggle rendering red colours. If using LED light fittings consider those with high CRI and a particularly good R9 value.
For small studios a simple solution is to use a few compact fluorescent lamp bulbs which can be easily screwed into your existing fitting.
If you want to be able to move lights around your space then track lighting is a good solution. Track lighting comes as either 1 or 3 circuit track. 3 circuit track allows you to have 3 different circuits with different luminaires on each track all controlled separately. It is a little easier to install (apparently) but is more expensive.
Track luminaires are typically spot lights which tend to focus the light and so are more useful in a gallery setting to light individual artwork. A handful of spots placed together, specialist spot lights with an adjustable diameter or ‘wall washer’ luminaires should be used to avoid provide the even, uniform wash of light required in a painting studio. Fantastic specialist track mounted luminaries exist, such as those supplied by Erco and Illuma amongst others. But GU10 LED lamps with GU10 LEDS can also be used with 3 circuit track.
I hope you found this blog post useful. If you’d like to ask me a question, or if you can offer more information on electric lighting solutions for artist studios do let me know.
Jason
Preparing Panels with Shellac
I prefer to make my own materials wherever possible. Be that grinding paints, thickening oils, sizing and priming canvas or preparing panels. In preparing your own materials you develop a better understanding of them, which in turn yields better results. Of course, it also has the benefit of being cheaper.
In this post I thought I’d share how I currently prepare small panels for painting.
I prefer to make my own materials wherever possible. Be that grinding paints, thickening oils, sizing and priming canvas or preparing panels. In preparing your own materials you develop a better understanding of them, which in turn yields better results. Of course, it also has the benefit of being cheaper.
In this post I thought I’d share how I currently prepare small panels for painting.
Jason
Approach
I use 3mm ply machine cut to size (usually no larger than 30x35cm (else a thicker ply should be used to avoid the panel warping when paint dries). I lightly sand the edges and face with fine sandpaper to remove any splinters and sharp edges and then size (or ‘seal the surface’) with shellac. I apply two thin coats of shellac; leaving to dry and lightly sanding after each coat. And that’s it! Panels can then be primed but I prefer to paint directly onto the shellac face - an idea I picked up from friends in Florence. The wood shows through the paint in places which gives an interesting effect.
The shellac, and sanding for that matter, is better done outside or in a well ventilated room.
Here are some I prepared a few days ago:

Why Use Wood Panels for Oil Painting?
Like stretched canvas, wood has been used as a support for oil paints for a very long time. It is stronger and more durable than linen or canvas and, depending on the finish, might give a smoother surface. These small panels and also cheaper and easier to prepare than stretching linen to the same scale.
Where to get Wood Panels?
You can purchase wood panels from most good art stores. But your local timber merchant should be able to supply and cut ply to size. Or, if you’re lucky enough to have your own woodworking machinery, you can cut them to size yourself. We use Wenban Smith in Lewes who are excellent, always helpful and friendly: https://www.wenbans.com/
Why Size Wood Panels?
Proper preparation of painting supports is essential for longevity of the work. Like linen, wood panels need to be sealed prior to priming and painting. Sizing creates a barrier layer between paint and the support. This stops oil in the paint from penetrating the wood and causing rot, and moisture and changes in humidity from causing the wood to warp.
Sizing also yields an easier surface to apply subsequent paint layers. It reduces a supports absorbency, allowing paint to sit on the surface to be easily moved around rather than sinking in. Note that sizing is different to priming. Generally a primer refers to a coating that prepares the surface for the acceptance of paint.
Why use Shellac?
Although not traditionally thought of as a sizing material shellac is often used in artwork to seal the surface of wooden or other porous supports that will later be painted over. It is easily applied, dries quickly, and is of low toxicity. It can also be used as an isolating film between layers of paint, both oil and water-based. There are some disadvantages though, it is brittle and tends to yellow over time.
What is Shellac?
Shellac are, of course, an american post-hardocre band lead by Steve Albini …..but also … shellac is a resin secreted by the female lac bug on trees in the forests of India and Thailand. It is processed and sold as dry flakes that can be dissolved in alcohol to make liquid shellac.
Shellac is graded by several variables; the two most common are its wax content and colour. The colour can range from pale yellow to a dark reddish-brown and depends on the sap of the tree that the lac bug lives on and the time of harvest. Shellac naturally contains 3 to 5% wax. The wax reduces the clarity of the finish and makes it less water resistant. Some grades are de-waxed, and these have better transparency and moisture resistance but dewaxed shellac has a much shorter shelf life after mixing it with alcohol (about 6 months).

Photograph by Nuberger13 at en.wikipedia - I created this work entirely by myself., Public Domain, https://commons.wikimedia.org/w/index.php?curid=13477833
How to Prepare Shellac?
I generally use premixed shellac which is readily available from good art stores and general hardware stores. I have found the latter to work perfectly well. These will tend to have a shelf life after which the shellac will not dry.
But best results are usually obtained by preparing your own shellac from dry flakes, which can also be purchased from art supply stores. Dry shellac flakes store indefinitely under proper conditions. These should be dissolved in denatured ethyl alcohol. In the UK that generally means Methylated spirits, which is denatured alcohol with additives, including Methanol (hence the name) to make it undrinkable. Be careful with Meths, it is toxic and highly flammable - never use it near an open flame.
The strength of shellac solutions is traditionally measured by a unit known as a “pound cut,” which refers to the amount in pounds of shellac flakes dissolved in a gallon of denatured alcohol. Most pre-mixed commercial preparations are 3-lb. cuts.
Preparing the shellac is simply a matter of leaving the flakes to dissolve for around 24 hours, perhaps longer if it is cold, stirring occasionally.